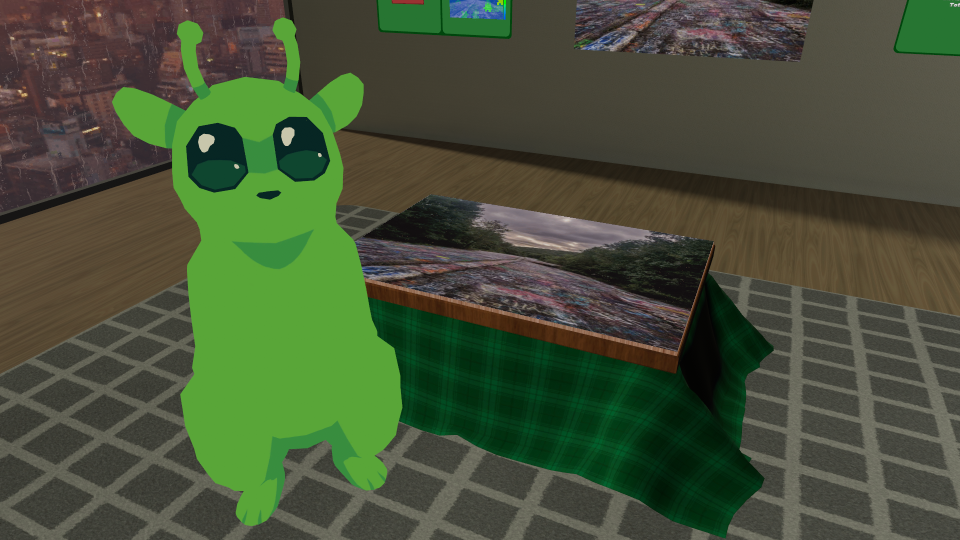
By default, VRChat saves your photos to the Pictures folder in Windows. I really didn’t want it to do that, because I don’t trust Windows not to get silly and trash itself again, but there isn’t a place in the in-game options to set a path for screenshots. Thankfully, you can do this with a config file, but you have to make and specify the configs yourself.
Also, for clarity, this is on Windows. The VRChat Docs do not specify any locations for this file on other operating systems, and the config file cannot be used on Quest.
VRChat by default does not generate a config file. You’ll have to make this yourself. Open up an Explorer window and paste this into the navigation bar: %LocalAppdata%Low\VRChat\VRChat - this will take you to the VRChat appdata folder.
Once here, make a new text file. Rename the file, deleting the .txt off of the end1, to config.json. This is the specific configuration file VRChat is looking for.
Open up config.json in your editor of choice and add these lines:
{
    "picture_output_folder": "YOUR_FOLDER_PATH_HERE",
    "picture_output_split_by_date": true
}
Change the value for picture_output_folder to the path for the folder you want your VRChat photos to go into. picture_output_split_by_date splits the photos into folders by year and month, which is the VRChat default; you can toggle this off if you want by setting it to false. Save the file.
You can now hop into VRChat, take a photo, and make sure that it’s saving to the correct folder.
There’s a lot more that your config file can do - check out the VRChat Docs for more info. This site can help generate a config file if you aren’t sure how to put it together yourself.
-
You may need to tell Windows not to hide file extensions. One way you can do this (on Windows 11, older versions may differ slightly in method) is by going to Windows Settings, System, For Developers, File Explorer, and toggling Show File Extensions on. ↩
